I am doing a job for a guy who sent me a scanned bitmap of his logo. He wants this logo engraved on a brass guitar tailpiece.
I wanted to try out Inkscape to make an SVG file that I could import into HeeksCNC for generating Gcode. Inkscape has a 'trace bitmap' function under the 'Path' menu that should do the job. There are also some nice CNC gcode generating plugins for Inkscape that will make code directly out of the application. I prefer to use HeeksCNC for generating the code, because I have a good post processor for my Centroid controlled mill that lets me generate code without having to do any editing to it. I also need to combine some CAD data that don't trust to Inkscape with the logo, that's going to need to be engraved too.
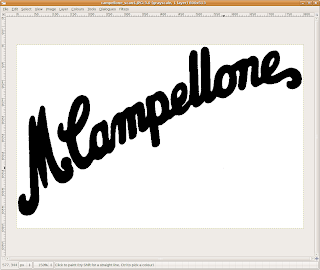
The first thing that I did with that scanned image was open it in Gimp and crop it:

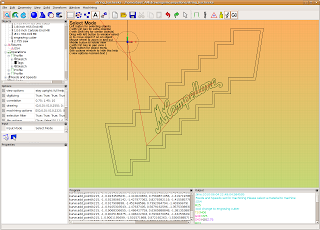
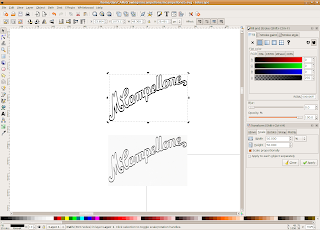
Then I imported it into Inkscape, made sure that it was still selected then did this:
1. In the top menu select 'Path'
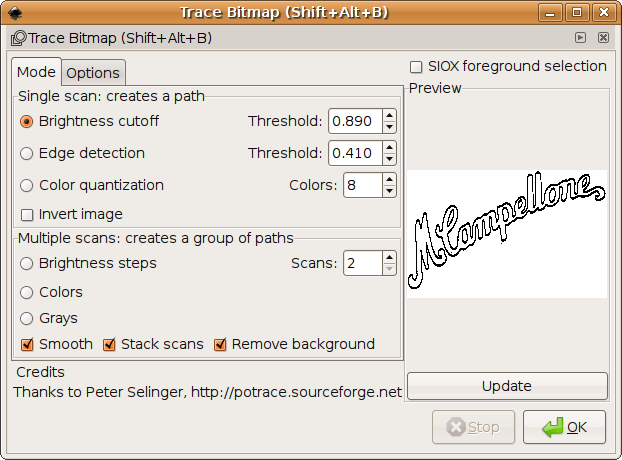
2. select 'Trace Bitmap'
Here is the dialogue box that pops up (after I selected 'Brightness Cutoff' and 'Update'):
Once you hit 'OK' in that box, the converted vector path is hiding behind the original bitmap. I always slid it out from under the bitmap to look at it because I intended on copying and pasting the path into something else later.
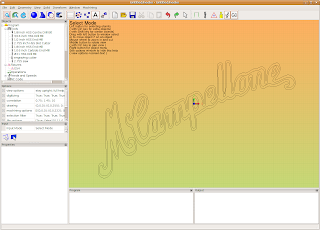
If you copy and paste the vectorized path into a new Inkscape file, it can be saved as a new *.svg that Heekscad can import.
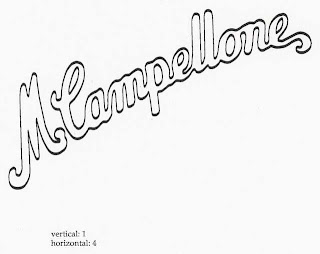
This looked pretty nice, but there was a problem- there were two paths all the way around the logo. I just want one nice clean path to engrave. Hmmm... it seems that the bitmap tracing looks at both edges of the black lines in the scan. I had played with 'Brightness Cutoff' and 'Edge detection' in the bitmap trace dialogue in Inkscape. 'Brightness Cutoff' seemed to give better results initially.
I opened up the bitmap in Gimp again and tried doing a bucket fill with black. This looked ok, but the original lines were actually lighter than the bucket fill. So, I darkened the lines up a bit and then did a bucket fill.
when I brought this back into Inkscape, I could do 'Edge detection' and get a reasonable path. It was still double paths, but they were much closer together.
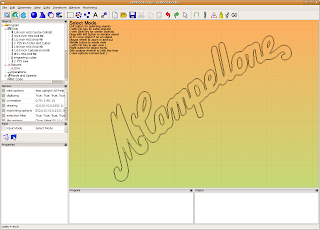
I was then able to delete the outside path (that I thought I didn't really need) and create a much more reasonable toolpath.